
Mermaid Awakening Photography Guide
How to shoot the Gold Coast and Mako Island — angles, timing, and the tail that survives a dark cove.
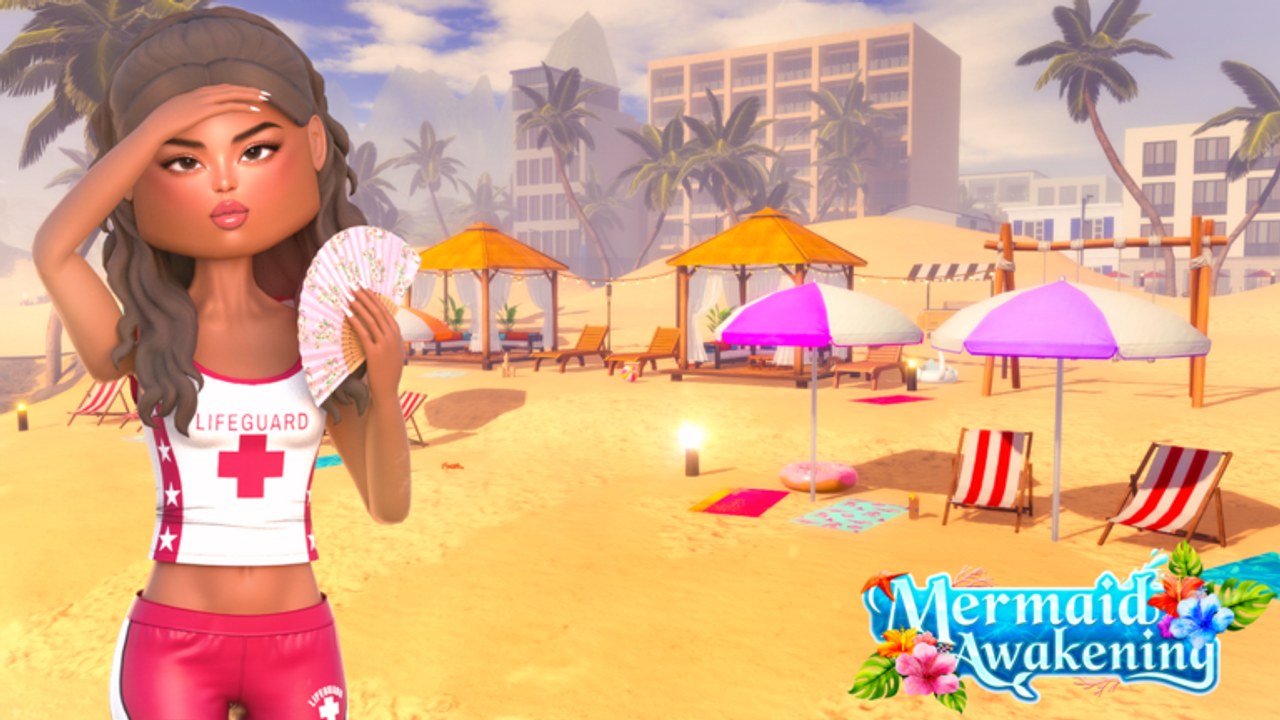
Players spend real hours inside Mermaid Awakening and leave with no good photos. The lighting was wrong, the tail disappeared into dark water, or the Rikki’s ramp looked flat in a screenshot. This guide fixes that. It covers camera setup, Gold Coast locations, timing for the best light, and how to frame a mermaid without a curtain of particle effects blocking the face.
Camera settings first
Open Roblox settings before you frame anything:
- Camera mode: Third person. First person cuts the tail.
- Camera sensitivity: Lower it. Smooth pans look better than fast jerks.
- Shift lock: Optional. Use it for cinematic beach walks, not for cove swims.
- Empty backend slot: Close the inventory, chat, and any open menus. Every open panel adds lag to the render.
The goal is a clean, full-body shot with the HUD minimised. Press Esc once to hide the Roblox menu, then frame before you cast a power or take a job.
Best Gold Coast locations
Cabanas at golden hour. The strip of beach umbrellas and hired chairs is the most recognizable Gold Coast set. Position your mermaid or land avatar between two cabanas so the umbrella lines create depth. The official Roblox gallery uses this angle: sand, shade, ocean horizon.
Rikki’s ramp. The waterfront cafe named as an H2O nod. The ramp, the flags, and the waterfront backdrop make it the most structured photo set on the map. Use the ramp rail as a leading line. The interior of Rikki’s works for group shots if the server is quiet.
Lifeguard stand. Hero art location. A land avatar in the red-and-white lifeguard look (tank, shorts, hair up) against the stand reads clearly even in a small Discord thumbnail. This is the job screenshot — keep it simple.
Fresh Catch Fish Shop porch. The hills shop with a porch and a mountain backdrop in official art. Wear the fisher look (denim hat, cropped jacket) and hold the porch railing. This is the badge-grind photo.
Hotel walkway. The back-row hotels are set dressing, but the walkway railings and tile texture photograph well for full-body land shots. Use a plain outfit here — busy patterns compete with the architecture.
Mako Island locations
Moonlit cove (dark water). Ice power on. Tail must be pearl, teal, or light pink — dark tails disappear in the cove. Position the camera below water level for a low-angle shot that shows the tail length and the cove ceiling. This is the H2O fantasy photo.
Ruins. Rock arches and ancient textures. Water power here because ice competes with the stone palette. Shoot mid-afternoon when the ruin walls hold the light.
Open water crossing. The swim from Gold Coast to Mako. Shoot from a boat or a high rock. A mermaid silhouette against open water reads clearly and works for TikTok cover shots.
Island shore landing. The point where you arrive at Mako. Natural wide shot. Use water power so the VFX reads against the sand and rocks.
Timing
| Time | What to shoot | Why |
|---|---|---|
| Golden hour (in-game) | Cabana strip, Rikki’s ramp | Warm light on sand and water |
| Midday | Fresh Catch porch, hotel walkways | Bright, flat — good for fashion shots |
| Evening / night | Moonlit cove, Mako ruins | Ice reads, dark water creates contrast |
There is no day-night cycle tied to real time in the experience. “Night” means a server running late or a darker water zone. Test your server’s water brightness before committing to a night shoot.
Tail and outfit checklist
- Pearl, teal, or white tail for underwater shots.
- Dark tail only in well-lit ruins — not in coves.
- No particle auras on the avatar body. Keep powers on the tray, not on the character.
- Long hair photographed from behind reads as a smear in dark water. Pin it or keep it short for cove shoots.
- Heels from Pearl Luxury stay on land. The tail replaces legs.
- Test one screenshot in the cove before you commit to a full shoot — the morph may clip bulky clothing.
Mobile photography
Mobile players can still get good shots:
- Lock the camera before you cast. Thumb drift while casting fire is how you photograph a cabana.
- Use the grid overlay (Settings → Camera → Enable Camera Frame) to check horizon lines.
- Screenshot, do not record. Clips compress badly on mobile upload.
- Edit before posting. Crop to a 4:5 ratio for Instagram, 16:9 for YouTube thumbnails.
Hashtags that work
Use these so your photos reach the right community:
- #MermaidAwakening (official game hashtag)
- #GoldCoastMermaid (distinguishes from Mermaid Isle posts)
- #Makomermaids (H2O tie-in from official marketing)
- #h2ojustaddwater (official hashtag)
Do not tag Mermaid Isle, Mermaid Lagoon, or other titles. Fans of those games will not engage and may report mis tagged posts.
Related pages
- Customization — build the outfit before you shoot
- Powers — water, fire, ice VFX for photo variety
- Mako Island — the underwater half of the Gold Coast pitch
- Getting Started — if you have not spawned yet, this is where to begin
Frequently Asked Questions
Quick answers to the most common questions.
What camera settings should I use for mermaid photos?
Third person, lower sensitivity, shift lock optional for beach walks. Hide the HUD with Esc before you frame.
What tail colour works best underwater?
Pearl, teal, and light pink survive dark cove water. Avoid dark-on-dark in low-light zones.
Can I take photos inside Rikki's?
Yes, the interior works for quiet server group shots. Use the ramp as a leading line for the best angle.
Is there a day-night cycle for photography?
No real-time cycle. 'Night' depends on server brightness. Test the water before planning a cove shoot.
Should I use powers for photos?
Yes — water for daylight Gold Coast, ice for moonlit coves, fire for ruins contrast. Keep powers on the tray, not on the avatar body.